Ever want to make a Discord Bot and have no idea where to get started? Yeah me too. So I spent most of a night looking into making one and setting it up in a Docker container. Some people thought it was an interesting idea, so here’s a write up. This post might get a little long, so I may split it up into a couple of posts.
Update 2020-04-13: I realized that the Docker base image was over 500MB, which feels like too much for a bot this simple, so I switched the Docker base image to an alpine based version of node.
The Basic Idea (A.K.A. What is this and why do I care?)
Discord bots are neat. They do all kinds of things and I’ve always wondered how they were implemented. So today we’re going to build one together. Well, I’m going to build one and explain how along they way. Well, I actually already built it, but I’m building it again to explain it. Well, if you’re reading this that means I already finished building it twice, so I guess now it’s just you building it. At least you have my commentary to help! Unless my commentary is not useful, in which case, IDK there are other blogs explaining this, so go look at one of those.
Sorry, that was a long winded way of saying nothing. Anyway, here’s the plan. We’re going to make a bot that will listen on Discord and if someone says “Ping” it will reply with “Pong”. We’re going to go through the entire process of setting up the bot in Discord, writing the code, turning it into a docker image, pushing the image to Azure Container Registry and then running the docker image on a machine somewhere.

Getting Started
Before we get started, make sure you have a development environment set up. I’m using VS Code as my IDE, but any text editor will work. You’ll also need nodejs (I’m using v12.16.2 right now) and a Discord account. Get one at discordapp.com. I’ll also be doing this in Typescript since I like actually having a type system, but this can all be done in TS or JS. You will also need Docker if you want to run it in a container like I do in steps 3 & 4 below.
The steps to creating the bot are as follows:
- Create a bot on Discord
- Implement the bot code in JS (or TS in our case).
- Create the docker image.
- Deploy the docker container and test the bot.
1. Create the bot on Discord.
First things first, we need to create a bot in Discord and install it into one of our servers. To create the bot you need to go to the Discord Developer Portal. To create the bot, we first have to create an “application” in their system. It’s a few steps, but it’s not too complicated. You’ll need to hit the “New Application” button and choose a name for the Application. Just choose whatever name you want for this, I chose “Sample Application” and hit “Create”.
You will see a page that looks like this:
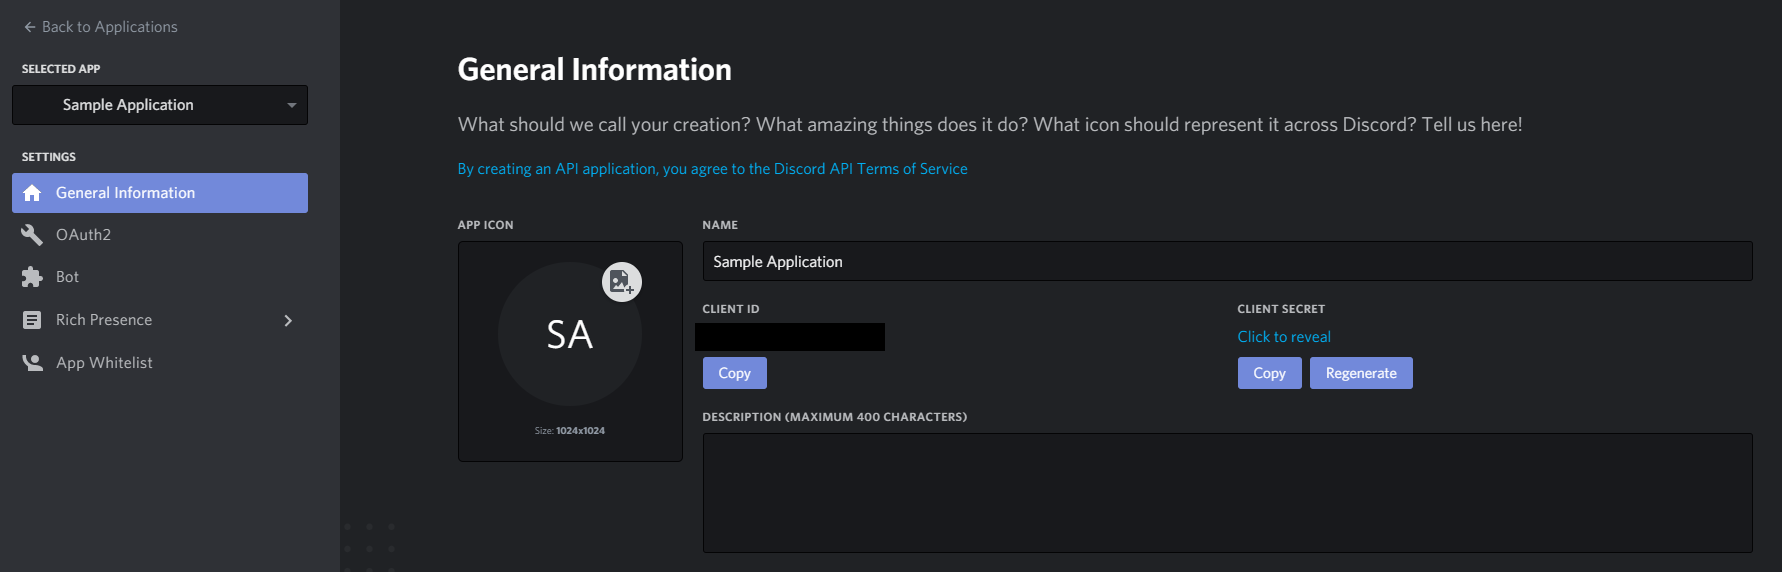
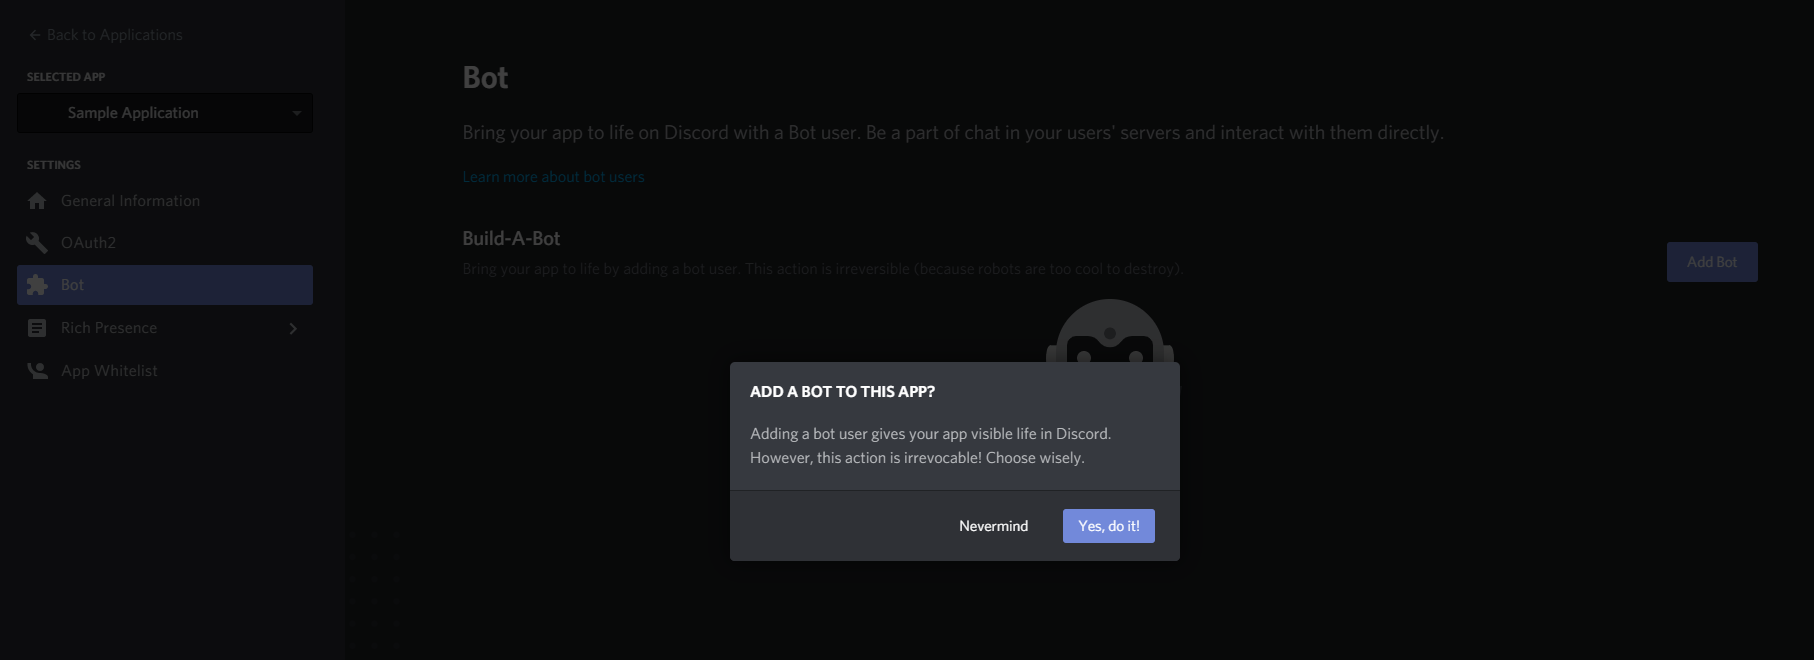
From this page, copy down the “Client ID” as we’ll need that in a minute. Then you can click on the “Bot” link on the left to get to the bot config. You’ll need to hit “Add Bot” and confirm it first. This will create the bot for the application.
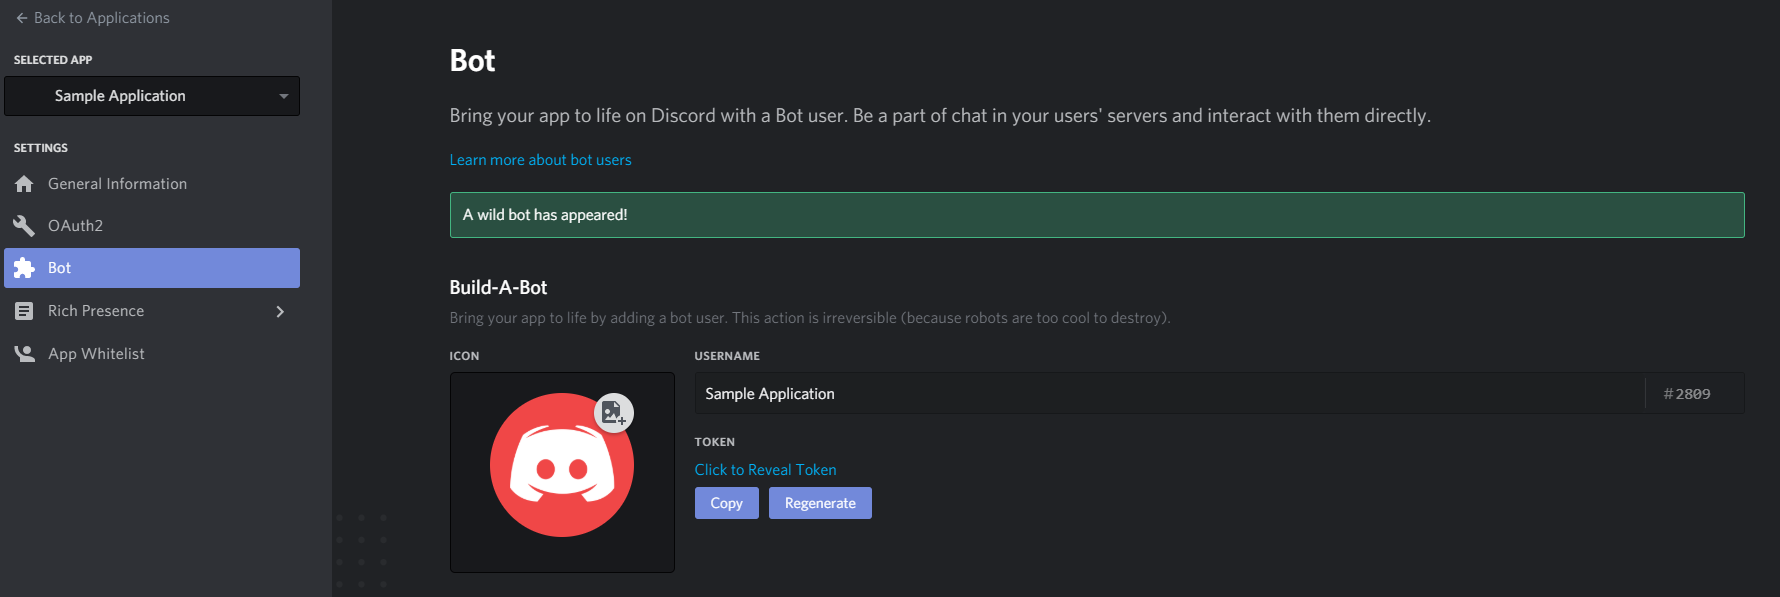
Once the bot has been created, you’ll need to get the token from the bot. You can do this by clicking on the “Click to Reveal Token” link and copying it, or clicking the “Copy” button. This token is going to be important later, so put it down somewhere safe. Important: This token should never be shared with anyone as it will give whoever has it full access to the API as the bot user.
Once you have the token saved somewhere, we need to add the bot to a server so we can actually test it in the future. We’re going to add the bot with Administrator permissions for now, but you can scope the permissions by using the tool at the bottom of the bot page to get the permission number (Administrator is 8). Once you have the number, you’ll need to construct a url to add the bot. The URL should look like this:
https://discordapp.com/oauth2/authorize?&client_id=CLIENTID&scope=bot&permissions=PERMISSION
For us the PERMISSION is 8, so the URL will look something like this:
https://discordapp.com/oauth2/authorize?&client_id=0000000000&scope=bot&permissions=8
Copy the URL with your Client ID and paste it into a web browser. From there you can install the bot in a server you are an admin of. You’ll know if it worked by logging into Discord and checking if the bot user is a member of the server.
2. Implement the bot code in JS
Now that you have the bot all set up and installed in a server, we can start working on implementing it. Let’s create a folder for working on the bot. I called mine discord-bot.
2.1 Set up package.json and tsconfig.json
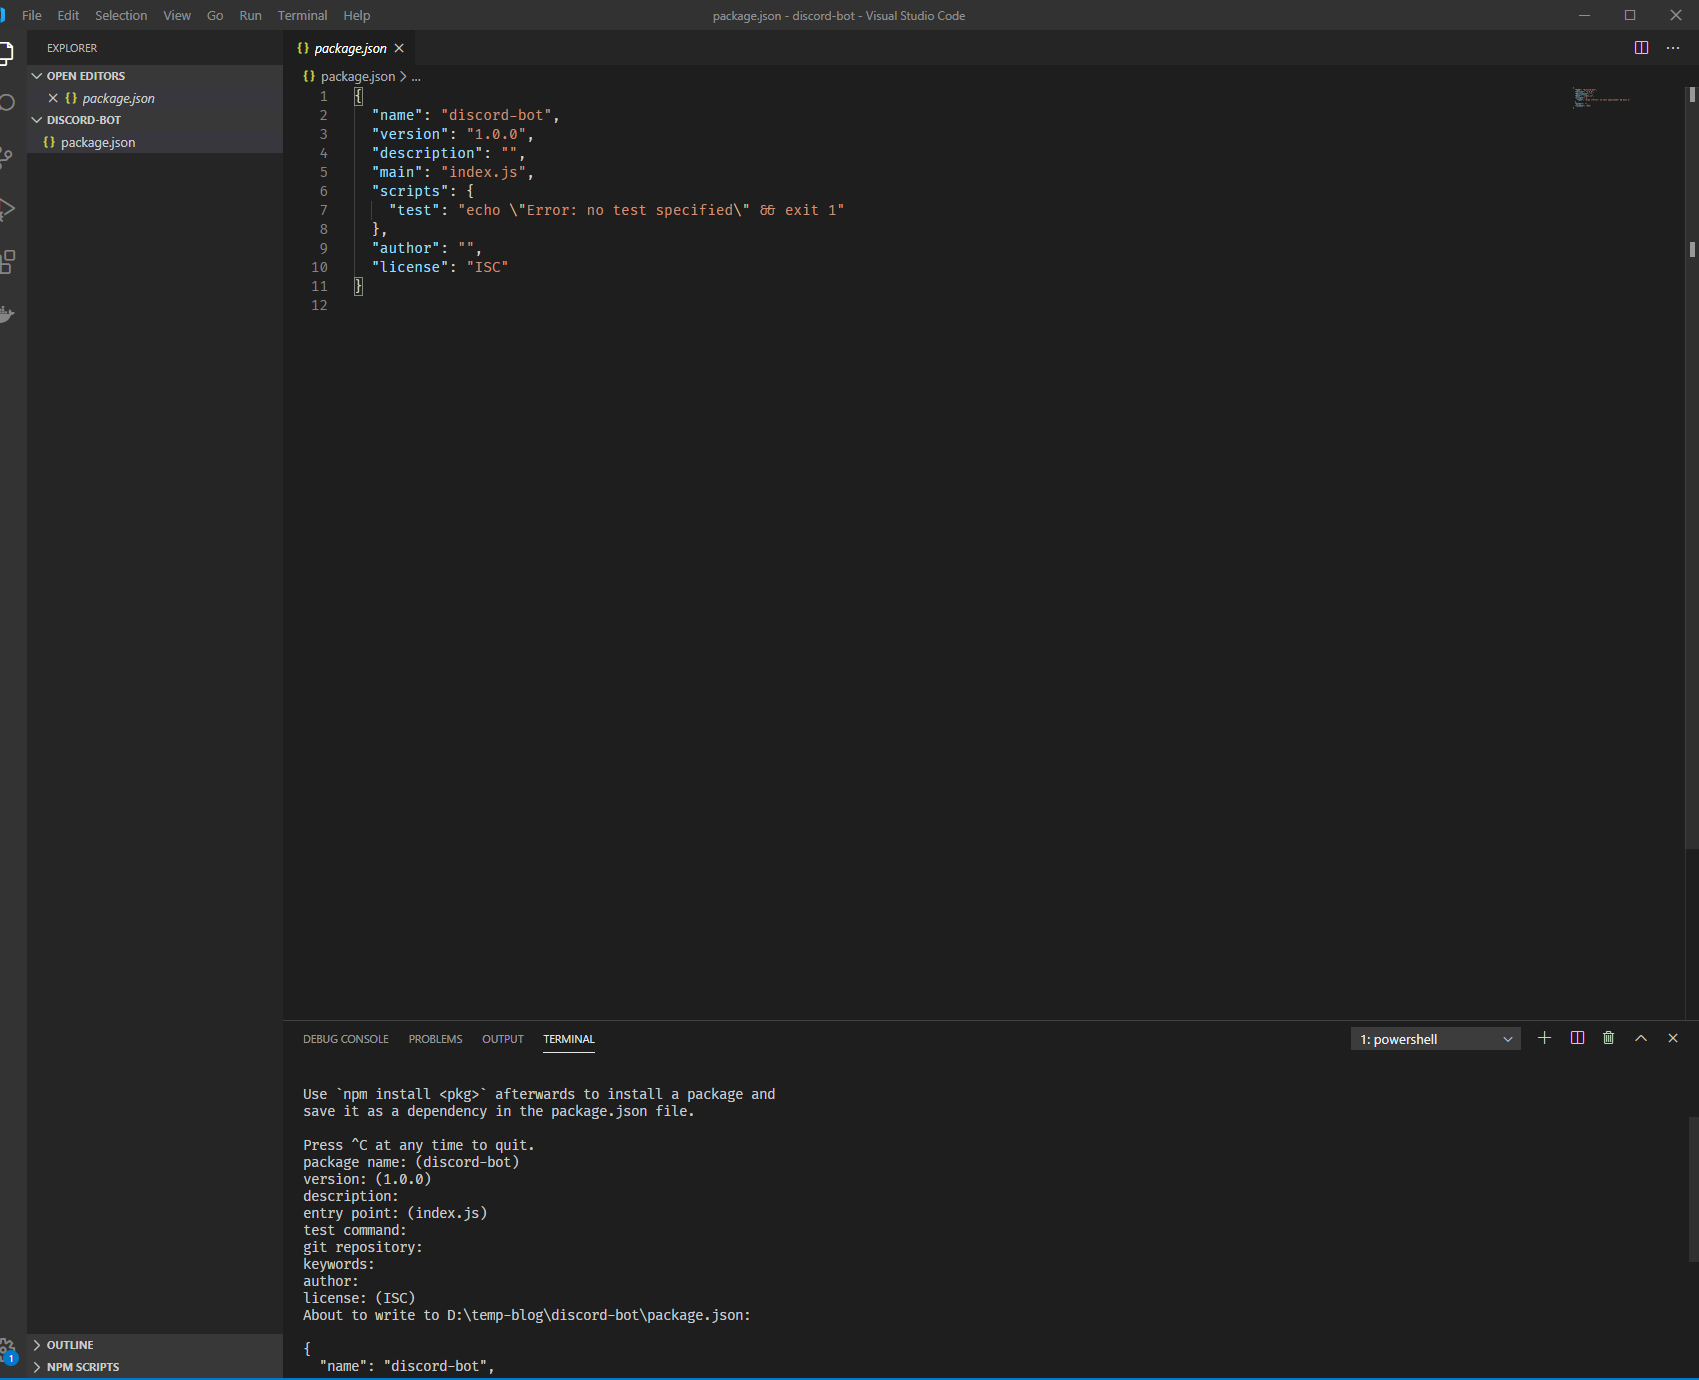
I’m going to launch VS Code in that folder and finish setting up from there. VS Code has a built in terminal that you can open with Ctrl+` . Let’s setup npm with npm init. Just enter information in the prompts or leave the defaults. Either is fine for now. This should create a package.json file in the file explorer. You can see that the package.json contains all the information from the prompts.
Now we need to install some packages. Run npm install discord.js --save to add the Discord JS library to the project. Let’s also add typescript as a dev dependency with npm install typescript --save-dev. You’re going to want the Nodejs typings so run npm install @types/node @types/ws --save-dev as well. Your package.json should now look something like this:
| |
Next up we need to add a tsconfig.json file to tell typescript how to build everything. Run the following command:
| |
This will setup our tsconfig.json with some useful defaults. It will look like this:
| |
Now that this is done, we can make a few changes to package.json to enable some easier testing and running. Let’s update the "main" property to dist/index.js since we won’t be running anything from /src. Let’s also add some scripts to enable building and running our bot code:
| |
Your package.json should look like this now:
| |
2.2 Adding the bot entry point and connecting to Discord
Now that all we’ve got typescript and node set up, let’s get started on implementation. Let’s create a src folder and put an index.ts file in it. The main part of this file will be creating the Discord client and connecting to Discord with it. Note: Discord.js has a ton of built in functionality and is too much to cover in this blog post. You can read the full docs here. I’ll cover the code in the file by blocks, so the first thing we want to do is add this:
| |
This will bring in the Discord library under the name Discord. It also will read in the token from an Environment variable. I don’t like hard coding secrets, especially if I’m checking them into source control. So let’s throw if the token is not in the environment and set it to a local variable while we do the rest.
The onReady and onMessage handlers will be invoked once the client starts up and when incoming messages come in. We’ll actually implement them a little later.
The client is actually the magic that will connect to Discord and calls into our onReady and onMessage callbacks.
The call to client.login(discordToken) will initiate the connection to Discord. At this point, we can add some logging into the onReady handler and see what happens when we run it. Update the code with the following:
| |
Once that’s in, run npm run build to generate the dist folder with the generated javascript. Once that completes, run npm run start to start the bot running locally. You should see something along the lines of this:
PS D:\temp-blog\discord-bot> npm run start

> discord-bot@1.0.0 start D:\temp-blog\discord-bot
> node dist/index.js

D:\temp-blog\discord-bot\dist\index.js:9
    throw new Error("DISCORD_TOKEN environment variable missing.");
    ^

Error: DISCORD_TOKEN environment variable missing.
This is because we haven’t set the environment variable with our token yet. I’m using Powershell, so I’m going to run:
| |
If you run npm run start again you should now see the log lines when you bot connects:
PS D:\temp-blog\discord-bot> npm run start

> discord-bot@1.0.0 start D:\temp-blog\discord-bot
> node dist/index.js

Connected
Logged in as Sample Application#2809.
Go ahead and hit Ctrl+C to stop the process.
2.3 Handling incoming messages.
Now that we are connected to Discord, we can implement our message handling. As I said earlier, this bot will just respond “Pong” when someone sends “Ping”, so let’s build a pretty simple handler.
In our onMessage method let’s add our new code:
| |
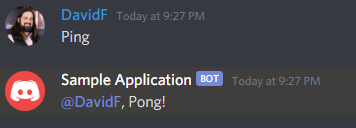
Now you can run npm run build and npm run start again. Once you see the “Connected” log show up, go back to your Discord server and send a message “Ping”. You should see this response:
Now we’re ready to start working on the Docker Image.
3. Create the Docker Image
The first step to creating the Docker image will be to add a Dockerfile. Lets create a Dockerfile at the root of our discord-bot folder. Set the content of the Dockerfile to this:
| |
Let’s break down what we’re doing in there. We start with setting the base image to node:lts-alpine3.9 to get the current LTS nodejs in our container. We’re using an alpine linux based image, which is much smaller while still giving us everything we need.
| |
Here we’re setting the user to run as and adding an environment variable with the path we’re installing the bot to.
| |
This is copying the package.json into a temp folder to run an npm install to download our dependencies. Then it copies the dependencies into our $APP directory.
| |
This is copying app files into the final directory and moving our working directory there.
| |
This builds the bot and then runs it. Now let’s actually build our docker image. Go ahead and run this command:
| |
This will build the image and tag it with discord-bot. You can you another tag if you like. Now you can try running your docker image. Remember to pass in your token via the -e flag. Here’s what my command looks like:
| |
4. Deploy the docker container and test the bot.
To deploy the container off of your local machine, you first need to push it to your registry. I’m going to use Azure Container Registry (ACR) since I already have one. You could always publish to DockerHub, but it was easier for me to use my existing registry. If you’re interested in using Azure, instructions for setting up a new registry in Azure can be found here.
Since I’m using ACR for this, I need to tag my image a little differently, so I’m going to run these commands to push it:
| |
Now that it’s deployed, I can go to my Docker VM host and run the following command to run the image:
| |
And that’s it, we’re all set up and running. The bot will always run unless I manually turn it off in Docker. Thanks for reading all the way through. If I feel like it, I’ll put up a blog post about how I set up CI/CD to deploy new updates to ACR using Azure DevOps Pipelines and GitHub.