Since I built this blog using GitHub pages with Hugo, I thought I’d share the process I used to automate the build and deployments. GitHub pages can only serve static sites, so the only two options are to publish all the HTML/CSS/JS files to a branch or use a Jekyll theme (which GitHub has native support for). These are both great options, and I’ve used both in the past, but I really like how Hugo’s site generation and content system works.
The downside to using Hugo? I’d have to manually build the static content, and commit it to the gh-pages branch (Keeping main free to hold the source code that gets used by Hugo to generate the static site). I’m not a huge fan of having to do a bunch of manual steps to publish something once I finish coding (or in this case writing blog posts in Markdown), so I figured now is the perfect time to get some practice with Continuous Integration/Continuous Deployment using Azure DevOps Pipelines.
I’ve already built the site in Hugo, got the static site defined in GitHub, and I’m using CloudFlare in front of it for the CDN and caching. The post will assume you already have a GitHub repo with a Hugo site deployed to gh-pages with the source code in main. It will cover adding automated builds for generating the Hugo site so you don’t have to do it manually.
CI/CD Plan
My goal was to have as much of the process be automated as possible. Once I push the commit to GitHub, everything else should happen automatically. The idea is to have the commit to main trigger an automated build in Azure Pipelines, then once the build finishes, have it trigger an automated Release that will push the build contents as a commit to the gh-pages branch. I also have some scripts that will invalidate the CloudFlare caches to ensure users get a fresh copy of the site when they load it after I deploy, but that’s out of scope for this post.
Setting up Azure Pipelines to Build on New Commits
Adding the Hugo Extension
If you don’t already have the hugo extension installed to your Azure DevOps, you can do that here. Just click the “Get it free” button and go through the steps to install it.
Connecting to GitHub
The first thing we need to do, is set up a new Pipeline to build the static site. In the Azure DevOps project, we’ll clink on “Pipelines”, then the “New Pipeline” button. That will bring us to the “Connect” tab of the New Pipeline flow.
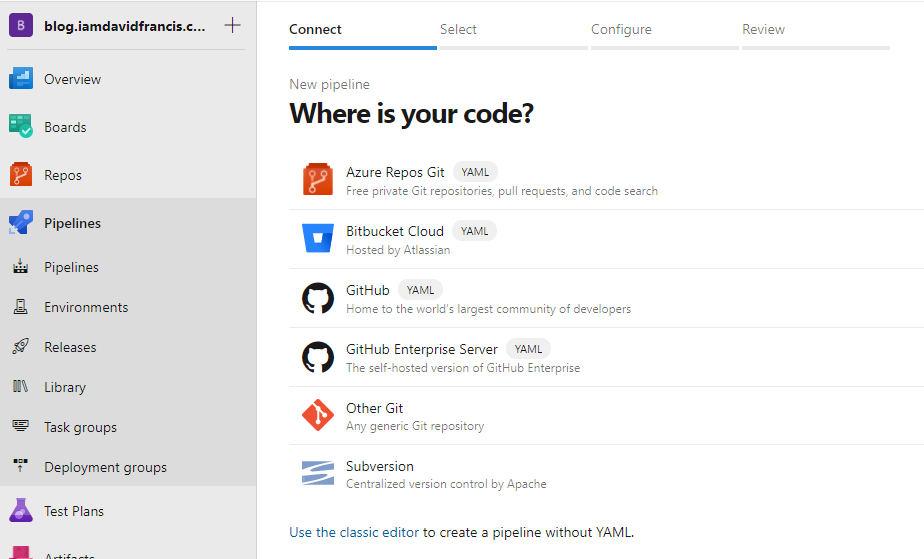
We’ll click on the “GitHub” button, which will take us to GitHub to OAuth, so that Azure DevOps can connect to the GitHub repositories.
Selecting the Repository
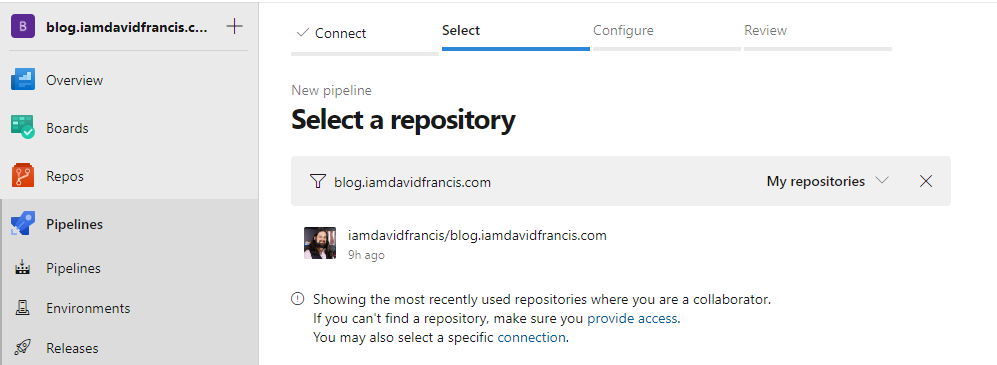
Once we get back to Azure DevOps, we’ll be on the “Select” tab. From this tab, we need to choose the repository we want to connect to. In my case, I’m choosing the blog’s repo:
Configuring the Pipeline
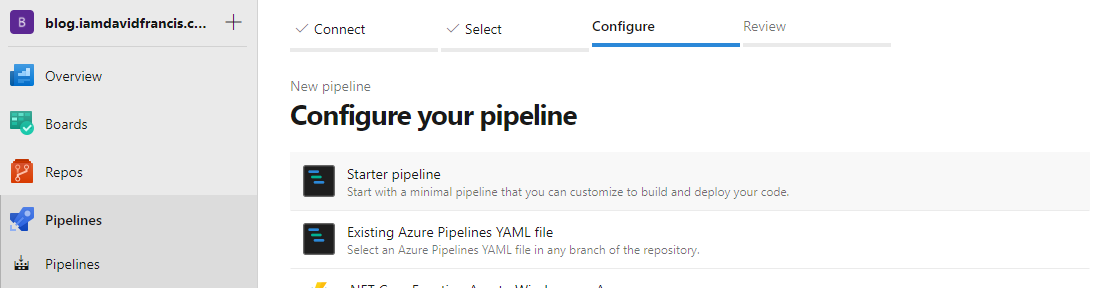
After we click on the repo, we will go to the “Configure” tab. Lets use a “Starter pipeline” so we can add exactly what we’re going to need.
Building the Pipeline YAML
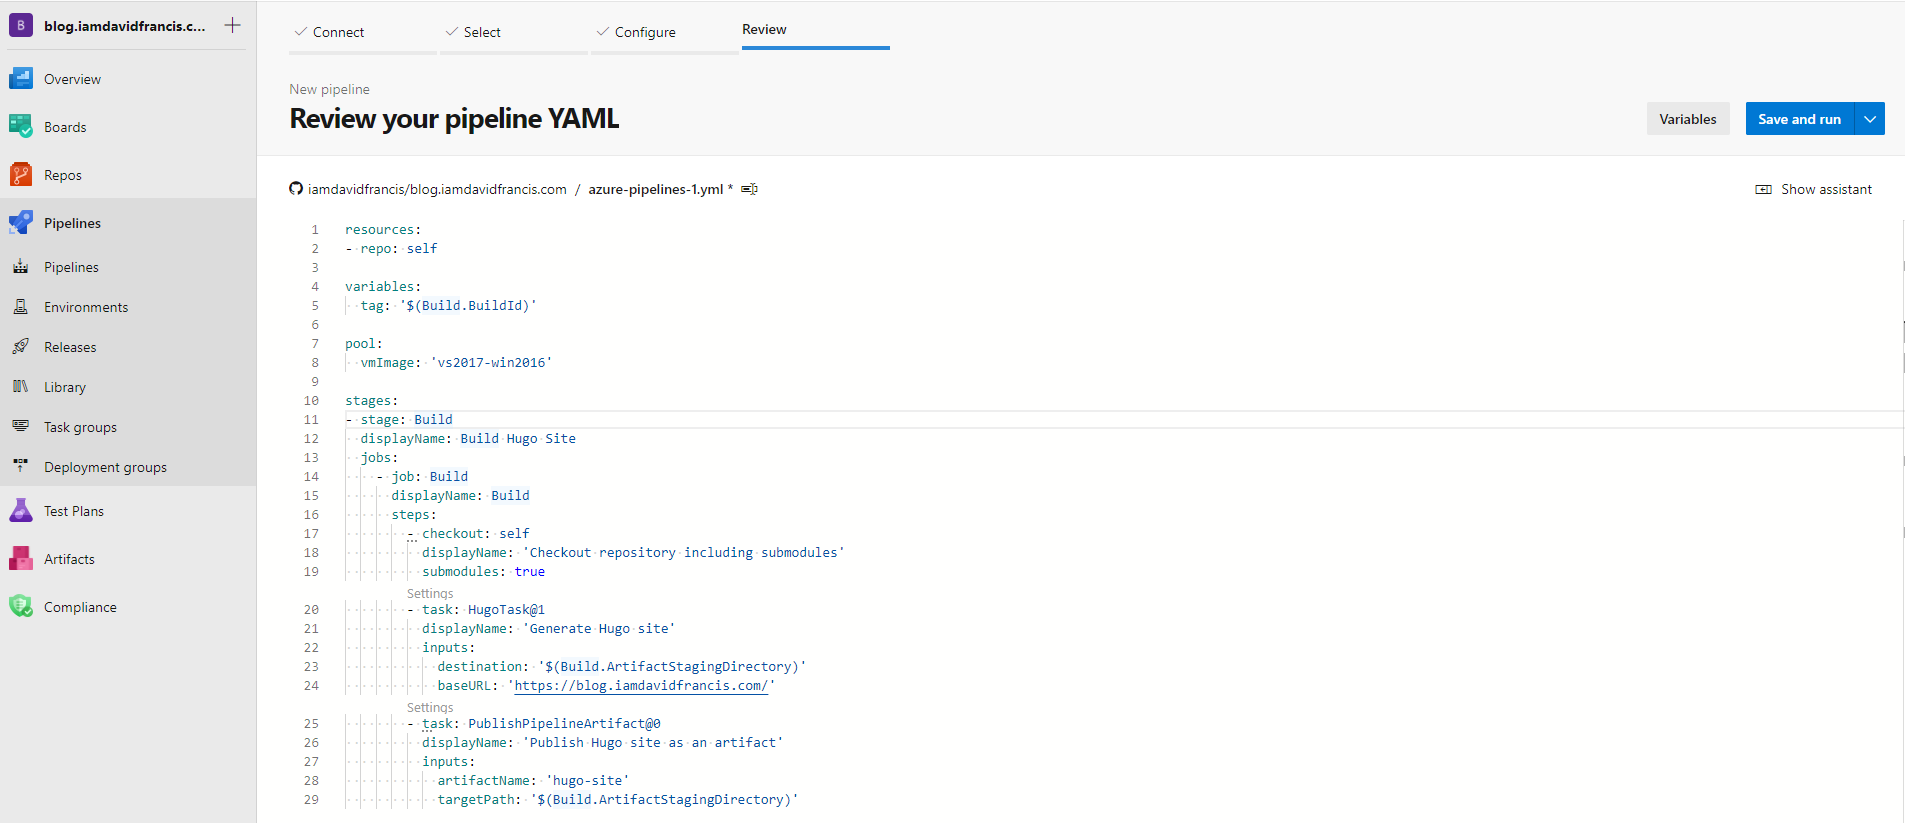
Now that we’ve chosen “Starter pipeline” we have arrived at the “Review” tab. Here’s where we will see the YAML file that will be used for the build definition. This file will actually be checked into the main branch of our repository and is what Azure Pipelines will use on every build. The advantage to having the build definition as code in the repo is that if we need to change how we build, we can update a file in the same place as everything else. Pushing a commit to update the build is much easier than going to the Azure DevOps site and clicking through buttons to make changes.
By default, the pipeline YAML file will look like this:
| |
Our Build Definition
We don’t actually want most of this, so let’s delete everything except:
| |
Now let’s add the rest of the YAML contents we’re going to need (I’ll go over what each section is for):
| |
First we’re setting what resources we’re going to need in this build. The repository is going to be this repository and we’re going to build on a windows machine. We also want to tag the built artifact with the current BuildId:
| |
After we’ve set all of this, we can actually define our build pipeline. Pipelines are broken down in to individual stages, with each stage having some number of jobs, and each job having some number of steps. As you can imagine, this allows for super customized builds. Since we’re building a simple static site, we are only going to set up one stage and one job, both called ‘Build’:
| |
We’re going to add three steps to this build:
- Checkout the repository
- Build the Hugo site
- Publish the built files as an artifact.
You’ll notice that this doesn’t actually deploy the site anywhere. We’ll set up deployment in the next section. It’s good to split up the build and deployment processes so that you can change one without needing to mess with the other. If at some point in the future we need to completely change the build process, the release process will continue to work as long as we’re publishing the same artifact.
Step 1: Checking out the repository
| |
This section is fairly straightforward. We want to pull the files from the git repo, and we want to include submodules. The reason I want to include submodules, is because of how I’ve set up my Hugo site. I have added a theme to the themes folder as a submodule so I can easily update the theme when the upstream pushes new changes.
Step 2: Building the Hugo site
| |
Luckily someone has already built an extension for Azure DevOps to do the heavy lifting here. We don’t need to run any scripts ourselves. More information on the extension can be found here. The extension has a few inputs that are optional, but the destination is required. This is the folder where the build will output the files. We’re using Build.ArtifactStagingDirectory as this the default location Azure DevOps gives us for artifacts we want to publish.
I’m also setting the baseURL property. This is useful as it allows us to use a different baseURL in the config.toml, which means we can put the production URL here and the config can have the URL used for local development. It also means that in a more complicated build setup where you have something like staging and production, you can change the baseURL for those as well.
Step 3: Publishing the site as an Artifact
| |
This step will bundle all the built files and publish them in Azure DevOps as an artifact. This artifact is what we’ll use for our deployment pipeline later. For now we just need to give it an artifactName which is how we will reference it in the Release, and a targetPath that tells the task which directory to look in.
Running the new Build
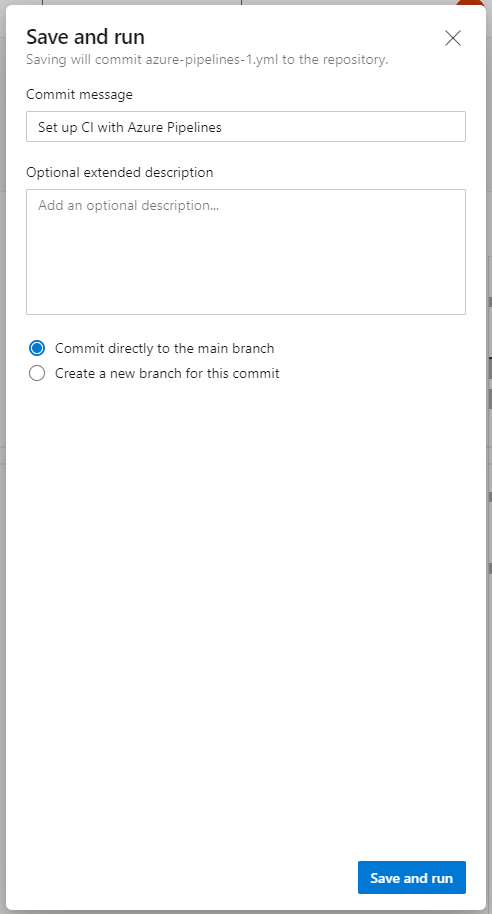
At this point, we can hit “Save and Run” in the top right corner of the window:
This will open a dialog asking for a commit message and which branch to commit to. This is because our build config is going to be stored as azure-pipelines.yml in the main branch. You can keep all the defaults and click the “Save and run” button on the bottom right.
This will take us to a page that looks like this:

If we click onto the “Build” job at the bottom, we will see the build steps that are being run and the logs from each step. This will tell us how long each step took, if it failed, and the output from the step. All of that can be useful for larger builds with more going on.
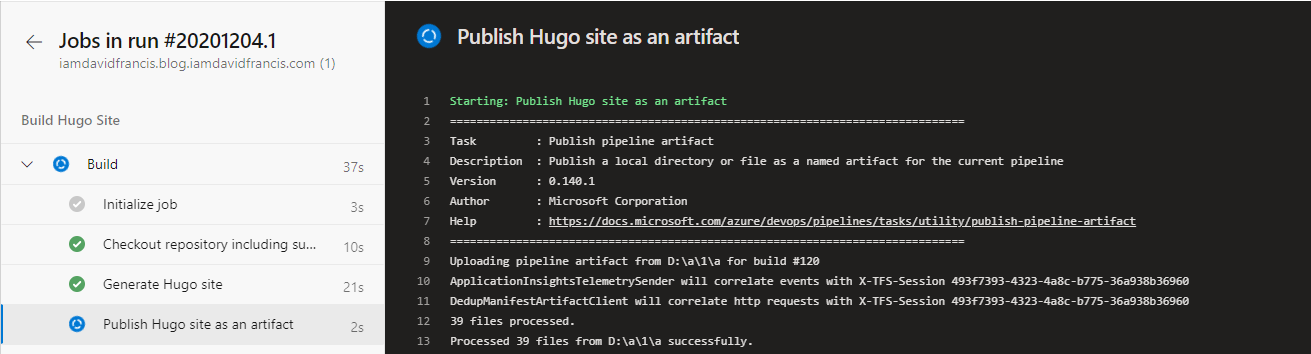
Once the build succeeds, we know we’re good to continue to make the Release.
Setting up the Release to deploy to GitHub Pages
Adding the GitHub Pages Publish Extension
If you don’t already have the extension installed to your Azure DevOps, you can do that here. Just click the “Get it free” button and go through the steps to install it.
Creating a new Release
In the Azure DevOps project, we’ll clink on “Releases”, then the “New” button, then “New release pipeline” from the dropdown. That will bring us to the “New release pipeline” page.
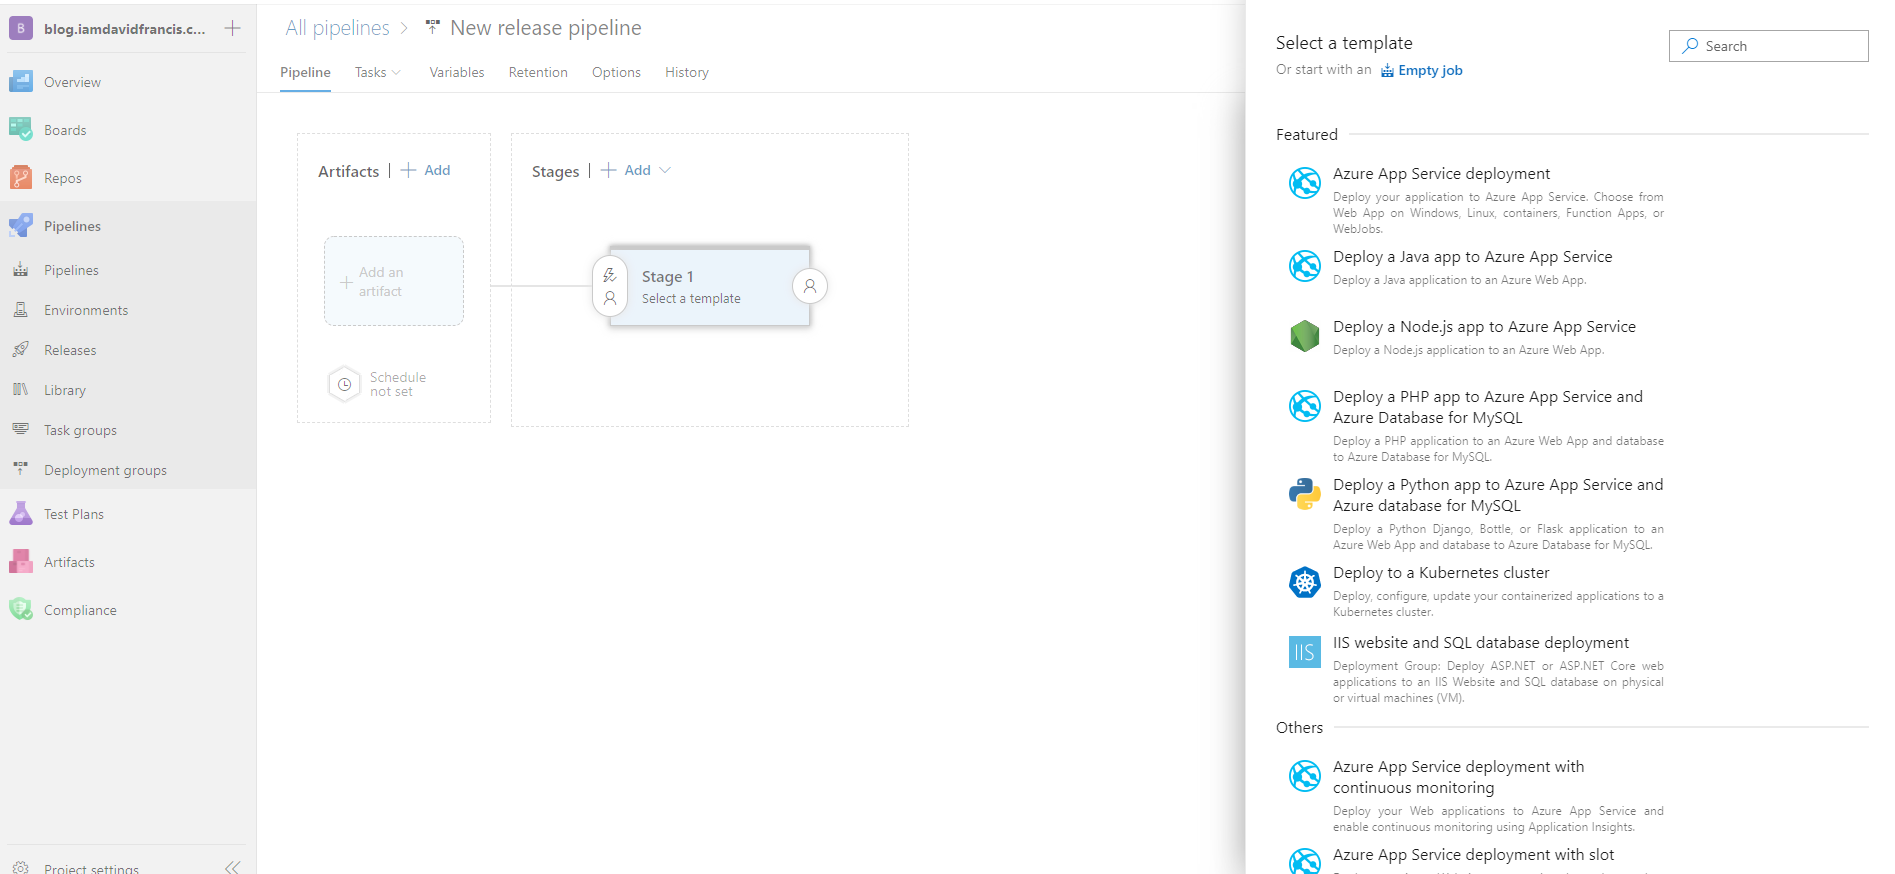
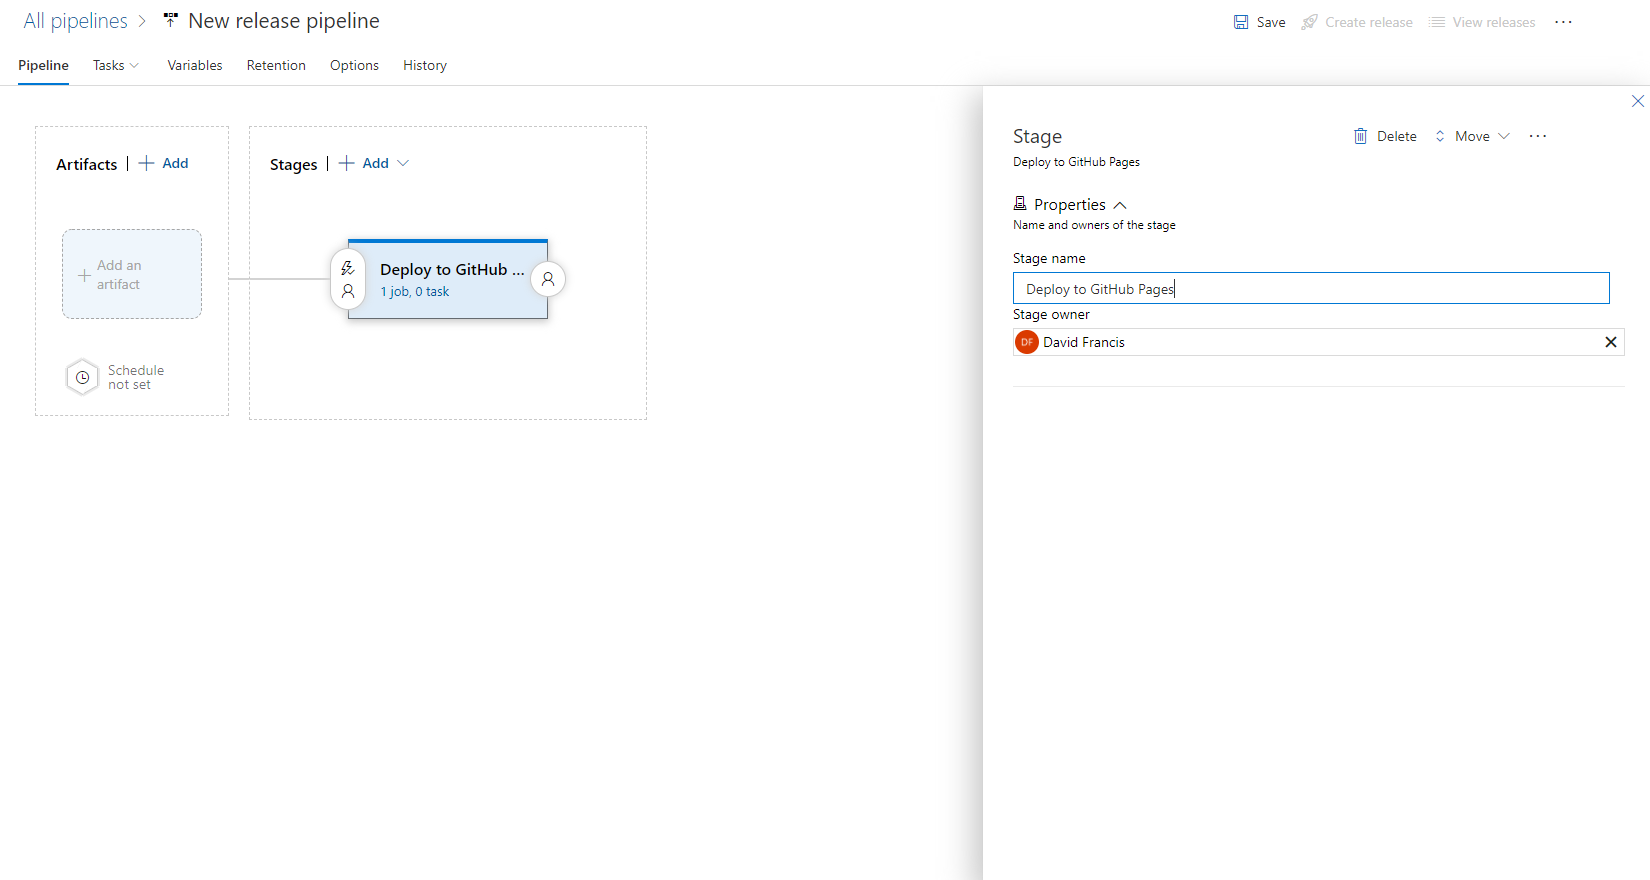
We’re going to click on “Empty job” so we can add our deployment tasks manually. The first thing we’ll do is name the stage, I called mine “Deploy to GitHub Pages”:
Configure Artifacts
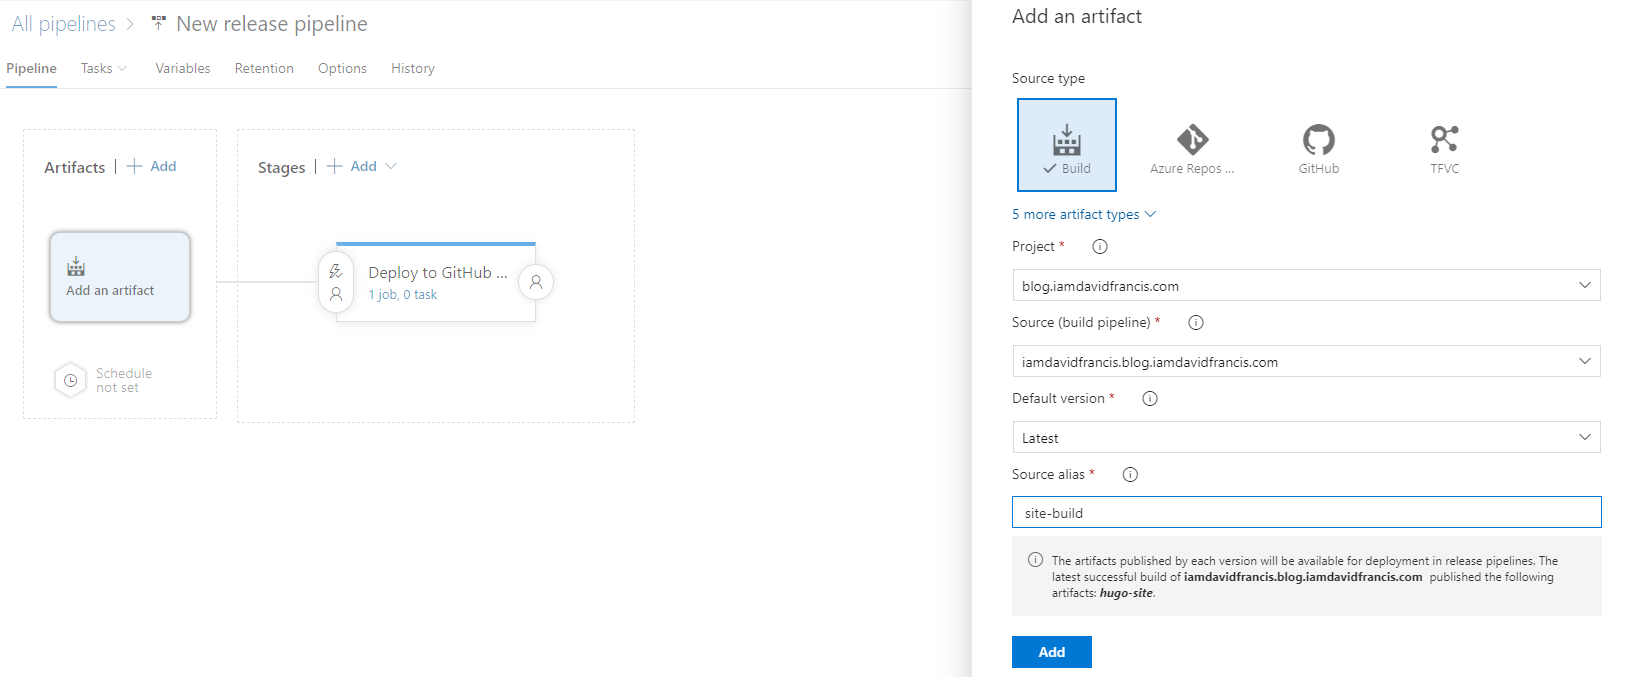
Before we define the build steps, lets set up the artifacts and the build trigger. In the “Artifacts” box, we’ll click the “Add and artifact” button. In the dialog that opens, we want to choose “Build” and then populate it with the build information we set up before. In the “Source alias” box, we’ll enter the folder we want the artifacts put into. I’ve called mine site-build. Then hit the “Add” button
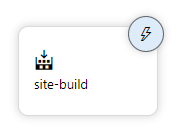
This will add an artifact to our Release pipeline:
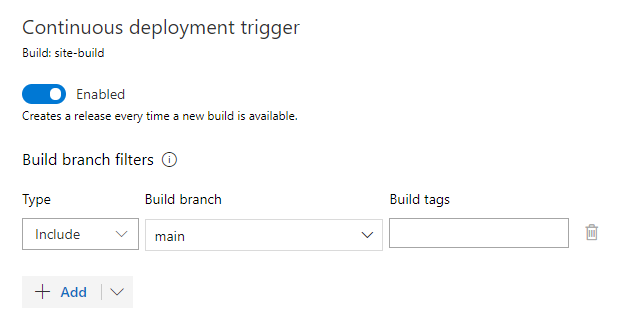
Now we need to click the lightning bolt at the top right, and turn on the “Continuous deployment trigger”
Configure Deployment
GitHub Personal Access Token
At this point, we’ll need a GitHub Personal Access Token (PAT) so that we can commit the files back to the gh-pages branch. Instruction on how to generate a PAT can be found here.
We’re going to add the PAT as a secure variable in the Release pipeline. To do that, we’ll click into the “Variables” tab, then in the “Pipeline variables” section, we’ll add a new variable called “GitHubPAT”. Make sure to toggle the padlock so that it stored as a secret. I set the Scope to the “Deploy GitHub Pages” stage to reduce the scope of access. It’s always a good idea to restrict your variable scopes to just the stages that need them.

Adding the Deploy To GitHub Pages task.
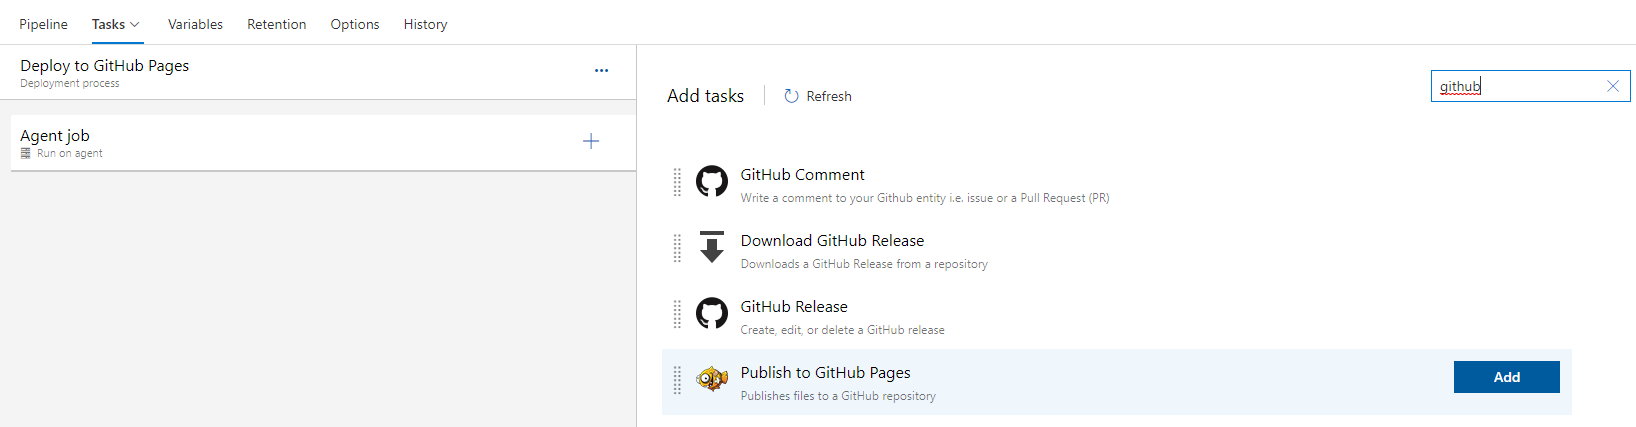
The next thing we need to do is to configure the deployment tasks. To get there we go to the “Tasks” dropdown and click on “Deploy to GitHub Pages”. From the screen that opens, click the “+” button to the right of “Agent job”. This will open an “Add tasks” window, where we will choose the “Publish to GitHub Pages” task. More information about this task, can be found here.
Once we add it, we’ll need to configure the settings for where it should publish. Here’s the settings we’ll want to use (You can leave “Display Name” and “Commit Message” as the defaults if you like):
| Property Name | Value | Explanation |
|---|---|---|
| Documentation Source | $(System.DefaultWorkingDirectory)\site-build\hugo-site\* | $(System.DefaultWorkingDirectory) is the root where all the artifacts will come in. site-build is the source alias we chose for our site, and ‘hugo-site` was the name of the artifact we published containing the site data. |
| GitHub Username | Your github username | This is the account the extension will push the commit to. |
| GitHub Email Address | You email address | This is used as the email on the commit that gets pushed |
| GitHub Personal Access Token | $(GitHubPAT) | This is the token used to authenticate against github. Since this is a secret we want to keep secure, we’re using a variable instead of hard coding the secret here. |
| Repository Name | Your repository name | This is the repo that the extension will push the commit to. |
| Branch Name | gh-pages | This is the branch the commit will be pushed to. It should be gh-pages as that is one of the branches GitHub allows to be published as a static site. |
Saving and Running the Release
Now we can hit the “Save” button. It will prompt for a folder, which I have left as \, but if you have a lot of release pipelines, it might make sense to organize them. Once we hit save, we can hit the “Create Release” button. Since this will be a manual release, there are some options that we are presented with for automated deployments and artifacts. We’ll just leave everything as the default and hit Create.

Once the release is created and you can watch the status as it runs:
After the “Deploy to GitHub Pages” step completes successfully, the changes should show up in the browser.
Conclusion
Once all of this is done, we can no check changes into our repository’s main branch, and have our changes automatically appear in the static site a few minutes later. Hopefully you found this post informative and if you have any questions or see any issues, please reach out to me on twitter.